How to Launch Your Therapist Website on Squarespace in 10 Steps (Even if You're Not Techy)
You're a good therapist. But, you are most likely not a web designer (and you never signed up to be one). So when it's time to build your website, it's easy to look at the whole thing and decide to deal with it “later”. Maybe months, or years later if you can get away with it.
I get it. I was a therapist before I did this, and I've now walked hundreds of therapists through building their own sites. Here's what I've learned: it's far more doable than it looks from the outside. What feels like one giant scary project is really a series of small, clear steps, and none of them ask you to know a line of code. You just need to take a breath, be open to being a beginner, and have a little patience (and maybe even fun) with it.
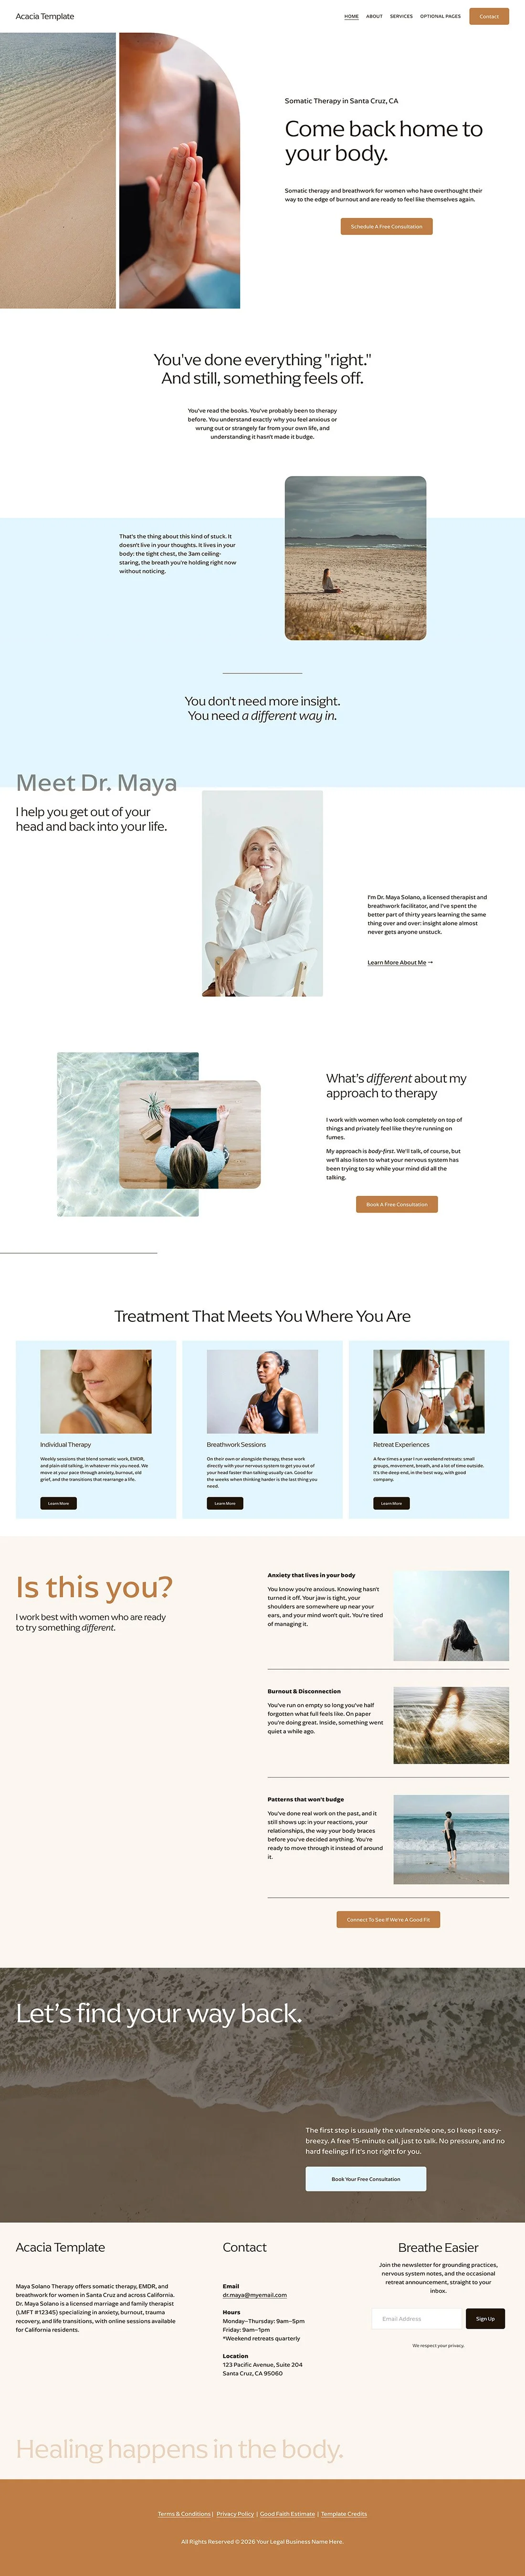
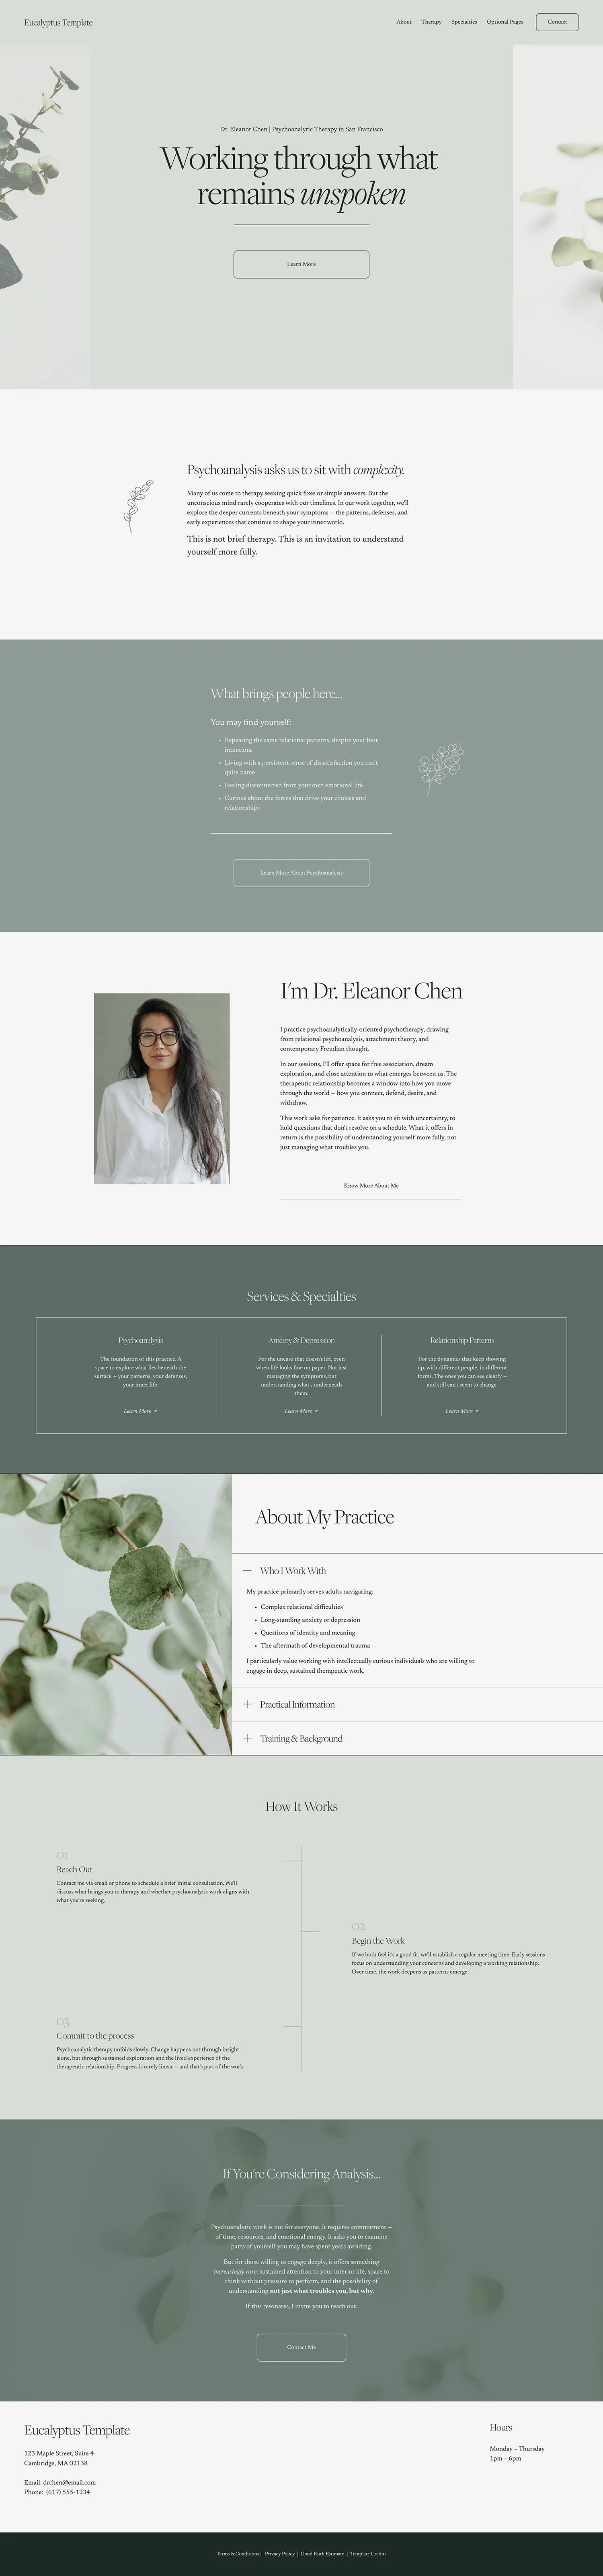
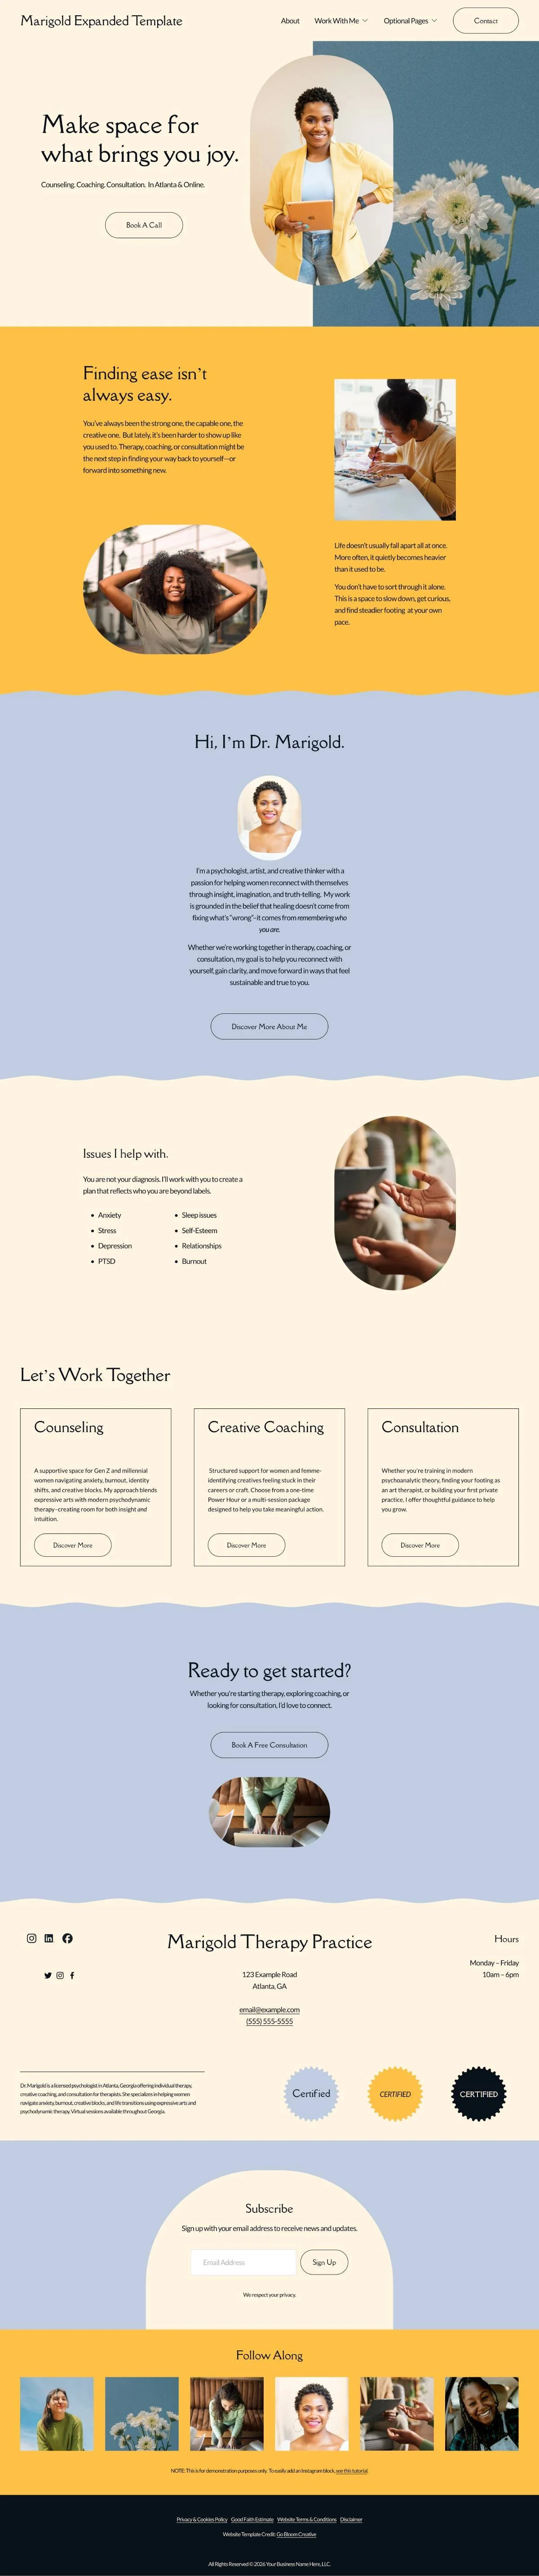
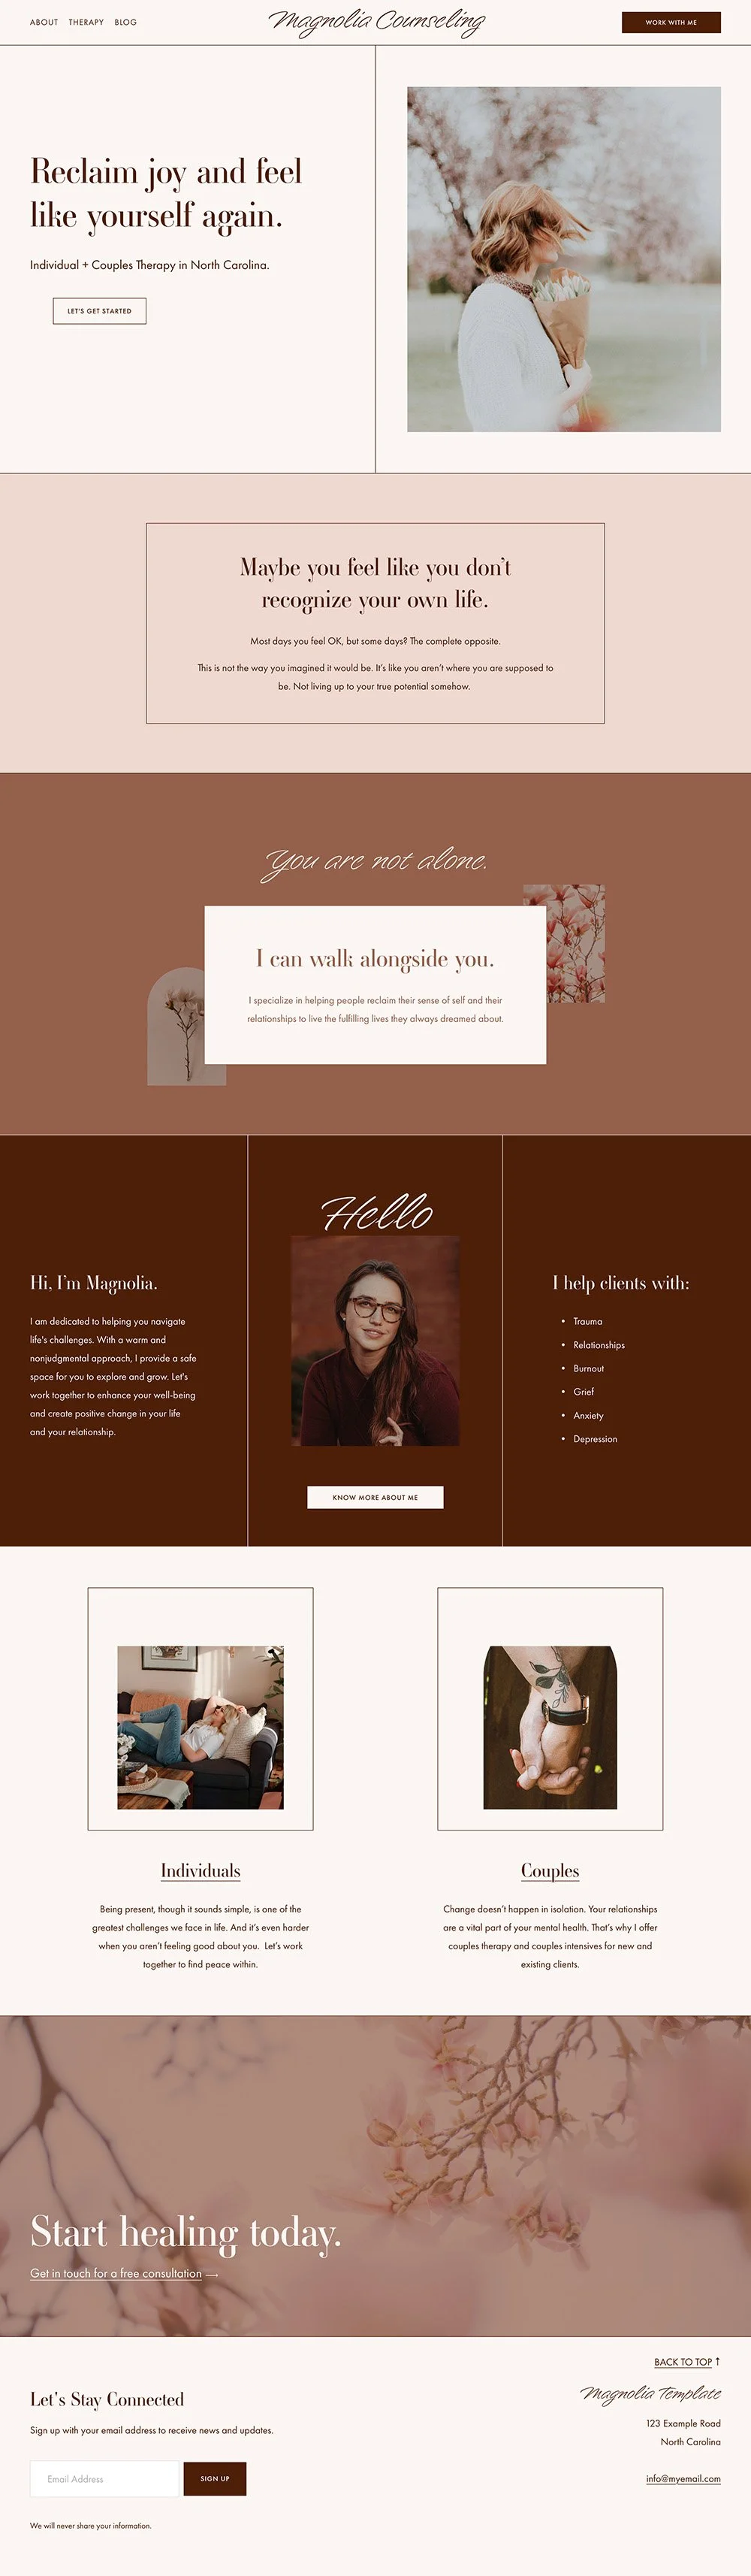
So here's the whole path, start to finish, in ten steps. If you're using one of my website templates a lot of this is already set up for you (but the steps are the same either way).
1. Set up your pages and navigation
Start with the bones. In Squarespace, your pages live under the Website tab. You'll rename the pages to fit your practice (e.g. “Service Page” becomes Individual Therapy), switch off any you're not using, and tidy up your navigation menu so it's clean. If you delete a page by accident, don’t worry, Squarespace holds onto it for 30 days (you can find it under Deleted Pages).
Tip: When you are changing your page URLS, keep dashes between the words so search engines can actually read them.
Moving pages around in Squarespace →
Changing the name of a page in Squarespace →
2. Set up your header
Your header is the strip across the top with your name and menu. Swap in your practice name (and your logo if using), and point the main button (if there is one) wherever you want it to go (usually your contact page or your scheduling link).
Tip: In Squarespace your header only has the option for one button, so save that for your most important call to action.
3. Change your colors and fonts (optional)
If you love the colors and fonts your template came with, feel free to skip this part! If you'd rather change them, you can adjust them in your Site Styles panel (click the little paintbrush in the upper right corner). Remember that any change you make in this panel applies to your whole site.
Tip: Keep it to two fonts max. More than that slows down your site speed which is bad for SEO.
How to make style changes in Squarespace →
4. Add your text and buttons
I highly recommend writing your content outside of Squarespace (a Google Doc is perfect), and then pasting it in (and saving often). You don’t want to write the perfect page, then have your internet cut out and lose it all, you know?
Tip: Your main heading (in Squarespace, it’s called “Heading One”) on each page should say plainly what the page is, who it's for, and where you practice. This will help you show up in search engines (including AI search). If your Heading One font size is too big, just adjust it! There’s no law saying it has to be bigger than the other headings.
5. Add extra sections when you need them
Sometimes you have more to say than a page has room for. Instead of building from scratch, you can drop in extra sections that already match your design. In my templates every section style is pre-saved for you, so it's a couple of clicks and your new section already looks like it belongs. But, Squarespace also has tons of beautiful pre-made sections as well.
Tip: To make your site look professional, repeat similar design themes on every page, rather than making each page look distinct from the next. It doesn’t mean it has to be boring, just cohesive.
Adding sections to your Squarespace site →
Saving and reusing sections on your Squarespace site →
6. Swap in your photos
Upload your images (your own, stock photos, or use Squarespace’s AI image generation feature), then click any picture in your template and replace it with your own.
Tip: Keep your file sizes small so your site loads fast (under 500KB is a good rule of thumb).
Using image blocks in Squarespace →
7. Check the mobile view
Most of the people who find you will be on their phones, so definitely don’t skip checking the mobile view to make sure it looks good and is user-friendly. Squarespace shows you a preview, and you can adjust the spacing or even hide an element on mobile to keep things clean (simpler is better when it comes to mobile).
Tip: I always check a site on my own phone before making it live, because sometimes the preview in Squarespace is not 100% accurate. Usually it’s a matter of adjusting the spacing a tiny bit.
Editing your site on mobile devices →
8. Connect your forms and email signup (if using)
If you're using a contact form, the one thing you truly must do is connect your own email so inquiries actually reach you. Same goes for newsletter signups. Make sure those are connected to either your email marketing platform or to a Google Sheet to collect those names!
Tip: Squarespace forms aren't HIPAA compliant by default, so they're fine for general inquiries and not the place for anything sensitive.
Squarespace forms aren’t HIPAA-compliant (and what to do instead)→
Using newsletter (aka email list signup) blocks →
9. Cover the SEO basics
SEO is a huge topic, but Squarespace actually makes it easy to cover some of the basics quickly. Squarespace has a built-in tool that finds pages missing a description and images missing alt text (a little description of what the image is), and it will even draft them for you (and edit anything that comes out weird which is sometimes does 😅).
Tip: When you write image alt text, just describe the image plainly in a handful of words. Don't stuff it with keywords, because that actually works against you.
Generate SEO descriptions and alt text with Squarespace AI→
10. Subscribe, connect your domain, and launch
The last stretch: choose a Squarespace plan (if you bought a template from me, you get 25% off your first year), connect your domain, and hit publish. Squarespace makes this part pretty simple, and then your site is live! 🎉
My favorite tips for avoiding a tech headache
Save often. Squarespace can hiccup, wifi can fail, and you don't want to lose an afternoon of writing.
The undo button is your friend. It’s a backwards arrow in the upper left corner. If you make a change or something goes sideways, undo until it goes back to the prior state.
Keep your design choices consistent. That's most of the difference between "fine" and "polished." It’s easy to want to try all the things Squarespace has to offer-section dividers, background art, animation, image shapes and more-but it can quickly start to look like chaos.
You can absolutely do this
None of these steps are hard on their own. Do it one at a time and before you know it, you’ve gone from template to a website you'd feel good sending to a new client or referral sources.
And if you'd like a head start, my Squarespace templates are built for therapists, with all of this already set up and waiting for your words.
Browse Templates