How to Add Custom Fonts to Your Squarespace Website (the Easy Way)
For years, adding a custom font to Squarespace meant fiddling with code. You'd track down a code snippet, open up a scary code panel and then cross your fingers. Even if it worked, it just wasn’t beginner-friendly.
Good news: Squarespace now lets you upload your own fonts directly, no code required. So this post used to be a coding tutorial, but it got a rewrite.
I'm going to walk you through the new way and then also I will walk you through some cases where you still might want to use code, and how to do it in a non-intimidating way.
But before any of that, let’s start with one not-so-obvious question:
Do you actually need a custom font?
I know that's a strange way to open a post about adding custom fonts, but hear me out.
Squarespace already comes with a library of over 1600 fonts! That’s a seemingly infinite number of combinations and there gorgeous options there.
So before you go hunting for something custom, it's worth perusing the built-in library. There's a decent chance the font you're picturing (or something close enough that no one but you would know the difference) is already sitting right there, free, with zero setup.
When is a custom font worth it?
You've had a logo or brand identity professionally designed, and you want your website to match the exact fonts your designer used.
You've fallen for a specific font that isn't in Squarespace's library, and nothing else quite scratches the itch.
You already own a font license you love from another project and you want to bring it to Squarespace.
Important: Before you upload anything, make sure you have the right license!
People skip this part too often, so I want to mention this before the fun stuff. Make sure you’ve purchased, read, and followed the licensing info for your font correctly, otherwise you can end up in costly legal trouble.
Two big things to know:
A font you bought for print or desktop use does not automatically come with a webfont license. Sometimes you have to purchase two license types for the same font.
Some of these “free” fonts are actually only free for personal use, not for business use. OR they require that you include attribution on your website for the font.
So again, just make sure you read the details of the license, and also, save the license info and receipt somewhere easy to find should it ever be called into question.
How to upload a custom font with no code
Okay. So you’ve:
Purchased the correct license for your font
Downloaded the font and saved it to your computer. (Note: the file should be one of these types: .otf, .ttf, .woff or .woff2. If your file came as a .zip file, you will need to open that up, and one or all of the above should be in there!)
Video Walkthrough (3 mins):
Don’t want to or can’t watch the video? Here's the no-code way, step-by-step:
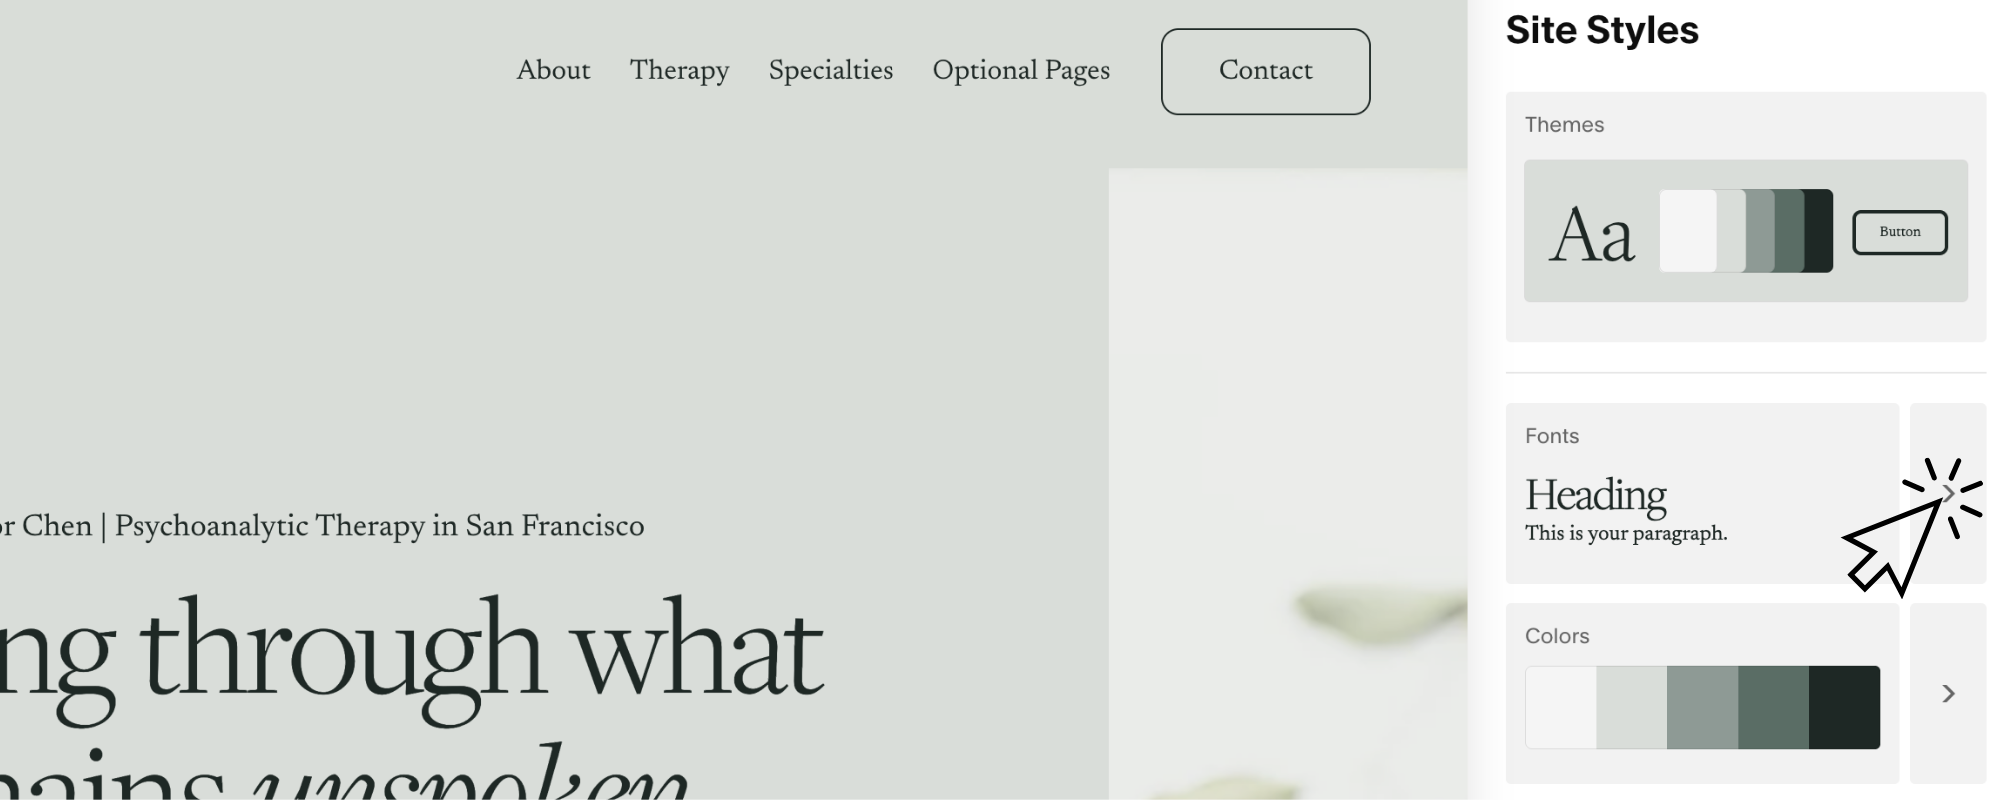
1) In your site, open the editor and head to Site Styles (the little paintbrush icon, top right).
2) Open the Fonts section (make sure to click the little arrow on the right, see image below)
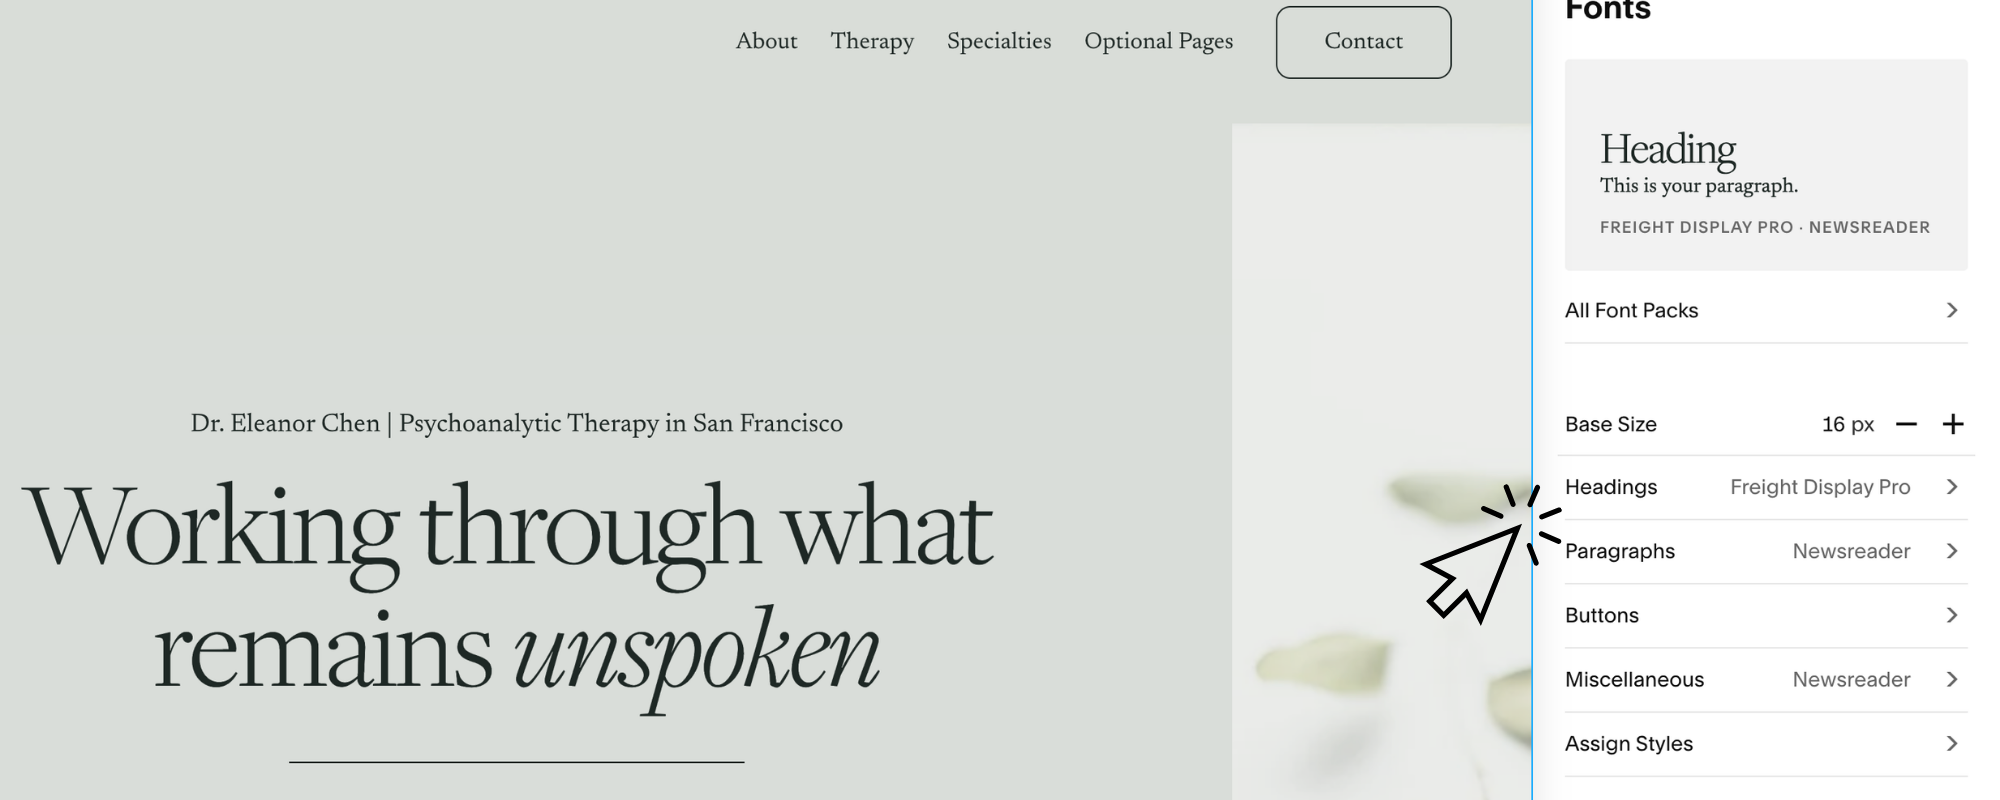
3) Click which font you want to customize (e.g. Heading, Paragraph, Button etc)
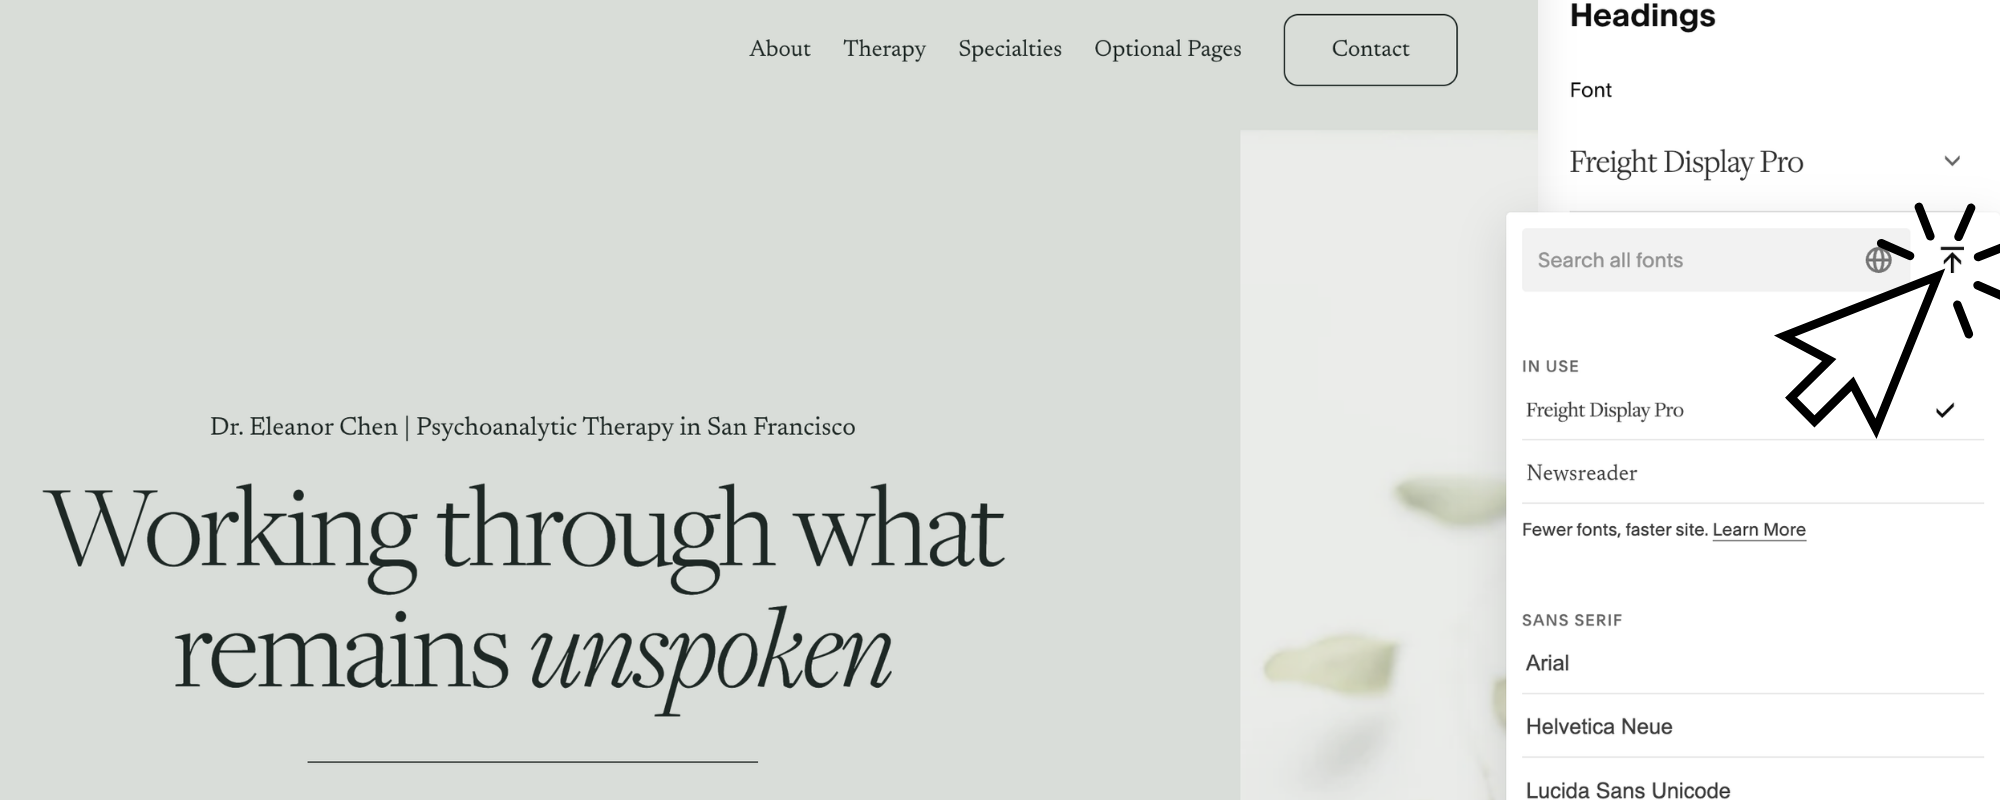
4) Click the upload icon (see below) and upload your font file from your computer.
Give it a moment to process. Once you see the name of your font just click the back arrow button. Don’t worry, it will save it!
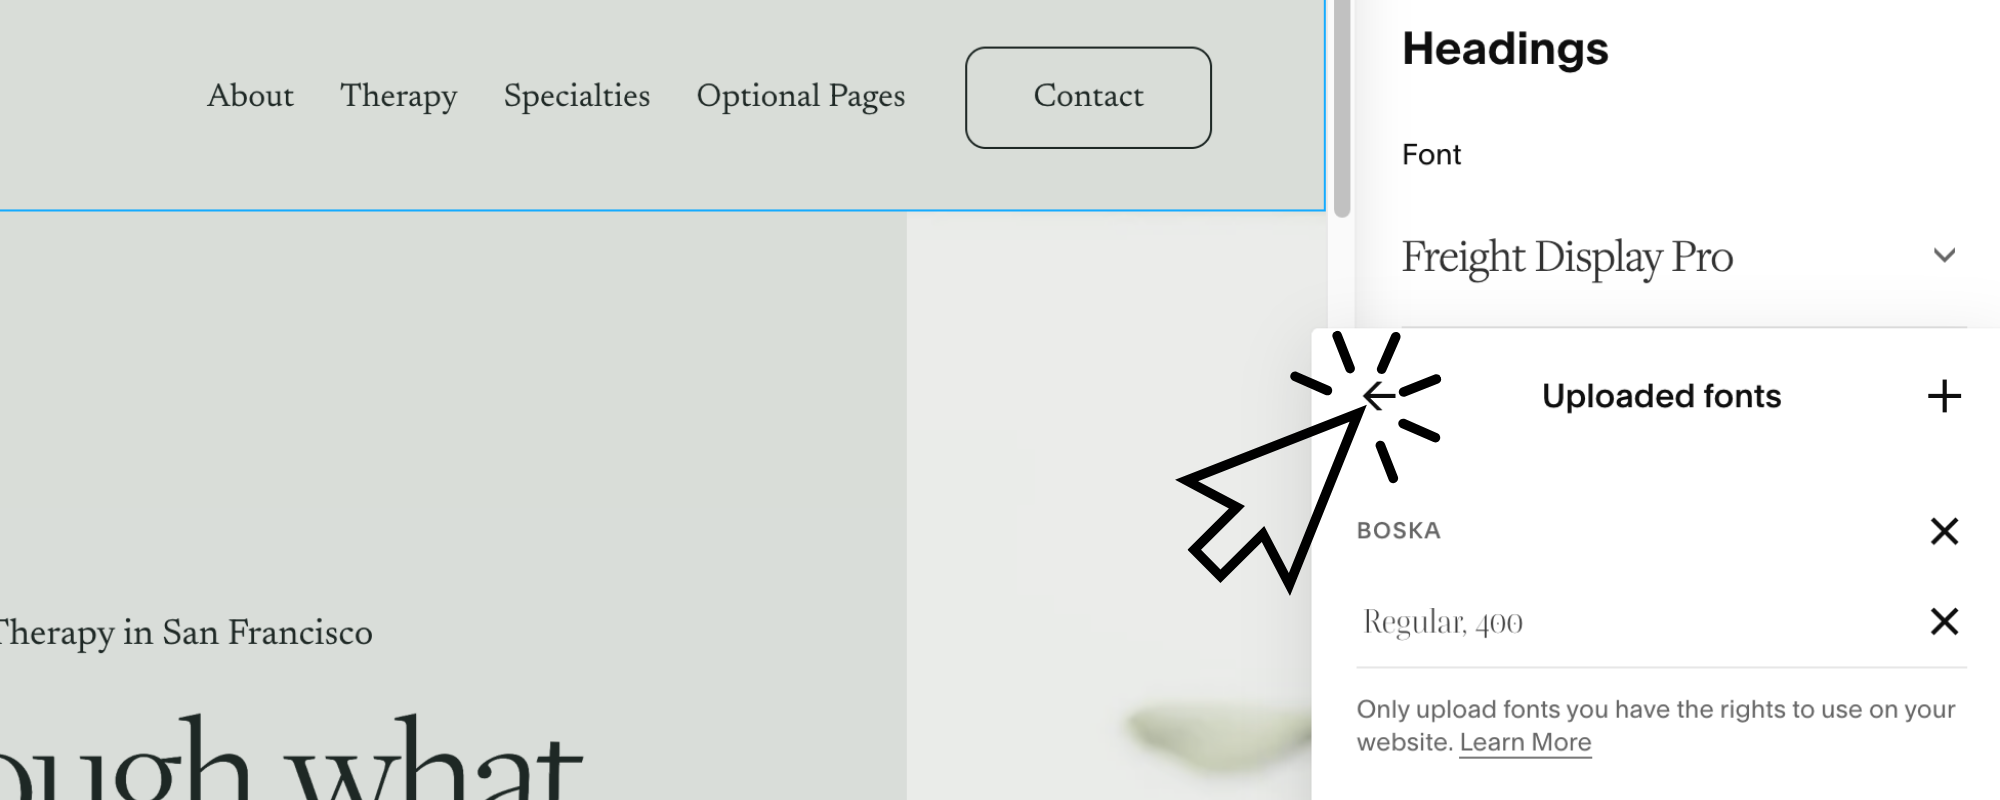
5) Then assign your new font! You’ll now see it appears below “In Use” in a section called “Uploaded.” Click on it, and then adjust it as you wish!
That's it. No code editor, no crossing fingers. Your custom font is now selectable anywhere you'd normally pick a font in Squarespace.
The code way (when you want to assign a specific style to just one font, not all)
The easy method I just showed you is awesome, but there’s just one issue: it's a little “all-or-nothing”.
What I mean is, when you upload a heading font, for example, it applies to every heading on your site, Heading 1 through Heading 4.
For most people, that's exactly right, but what if you want to do something a little more precise?
Here are some examples of what you might want to do:
You want a distinctive font on just your Heading 1 (your big top-of-page headline), while your other headings stay simple and easy to read.
You want an all-uppercase font to use as “eyebrow text” (those little labels that sit above a headline), without it being uppercase everywhere else.
You've got a handwriting or script font you love and want to use as an occasional accent, not to every single heading (which would be a readability disaster).
You’re using Squarespace 7.0 and it doesn’t allow for custom font uploads
For cases like these, you need a little CSS to focus on specific place (e.g. just your Heading One)instead of the whole group.
Here’s a walkthrough video (8 min) on how to use code to customize a specific font in Squarespace
Here are the steps shown in the video (and I’ll dive into more detail on each one below):
Upload your font file in the Custom CSS panel, not the Fonts panel from the no-code approach. To do this, open your Custom CSS panel (Pages → Scroll Down to Custom Code → Custom CSS) and use the custom file manager there to upload your font file.
Paste in the bit of code below and make sure add your own URL and font name.
Lastly, apply that font name to the element you want to customize.
Paste this code so the font can be viewed online:
@font-face {
  font-family: 'YourAccentFont';
  src: url('your-font-file-url.woff2') format('woff2');
  font-weight: normal;
  font-style: normal;
}
The format() part has to match the file type, or the font won't load. Here’s a key:
.woff2 file → format('woff2')
.woff file → format('woff')
.ttf file → format('truetype')
.otf file → format('opentype')
So, for example, if you uploaded a .otf file, your line should read:
src: url('your-font-file-url.otf') format('opentype');
Here’s how that all looks in action:
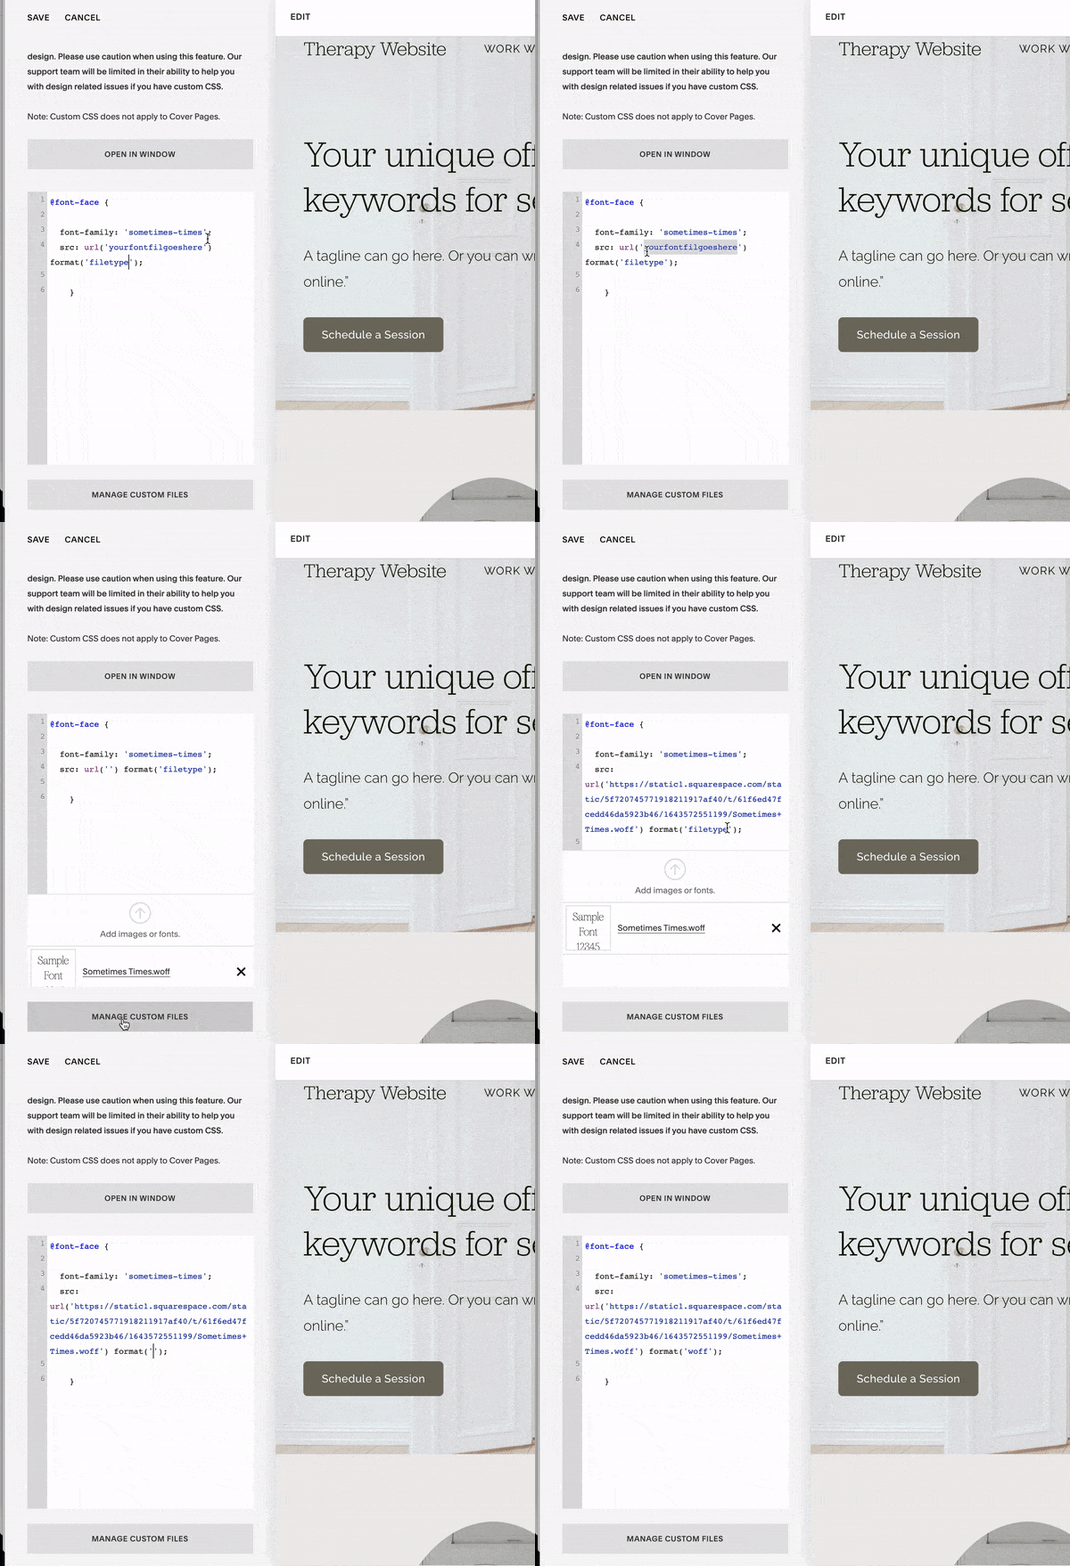
NOTE: this is an older version of the CSS panel but the process is the same.
Now apply the font to the one you want to customize:
Here are a couple of common use cases:
Make your Heading 1 a custom font
/* Apply custom font to Heading 1 only, not every heading */

h1 {
  font-family: 'YourAccentFont', sans-serif;
}
Make your Paragraph Three text all uppercase
/* Paragraph 3 text is all uppercase */

.sqsrte-small {
  text-transform: uppercase;
}
And if all of that made your eyes glaze over, I completely understand, and there’s no shame in that.
This is the advanced corner of the post. If you need help with something like this, that’s exactly something we can solve in a Live Support session.
A bit of advice about choosing & using fonts (from a designer who has been down a font rabbit hole more times than she’s proud to admit).
You do not need a lot of fonts. You really just need one or two. One font for your headings and one for your body text. Some of the best therapy websites I've seen use a single font throughout and just vary the weight and size.
More fonts do not make a site look more designed. They make it look busier, and "busy" is the opposite of what a therapy website is trying to do. Someone landing on your page in a hard moment needs it to feel calm and easy to read. Three or four competing fonts fighting for attention gets in the way of that.
So: pick your one or two, make sure they're readable (especially your body font, especially on mobile), and stop there (this saves you lots of time and decision fatigue too!).
Want to skip the whole font decision entirely?
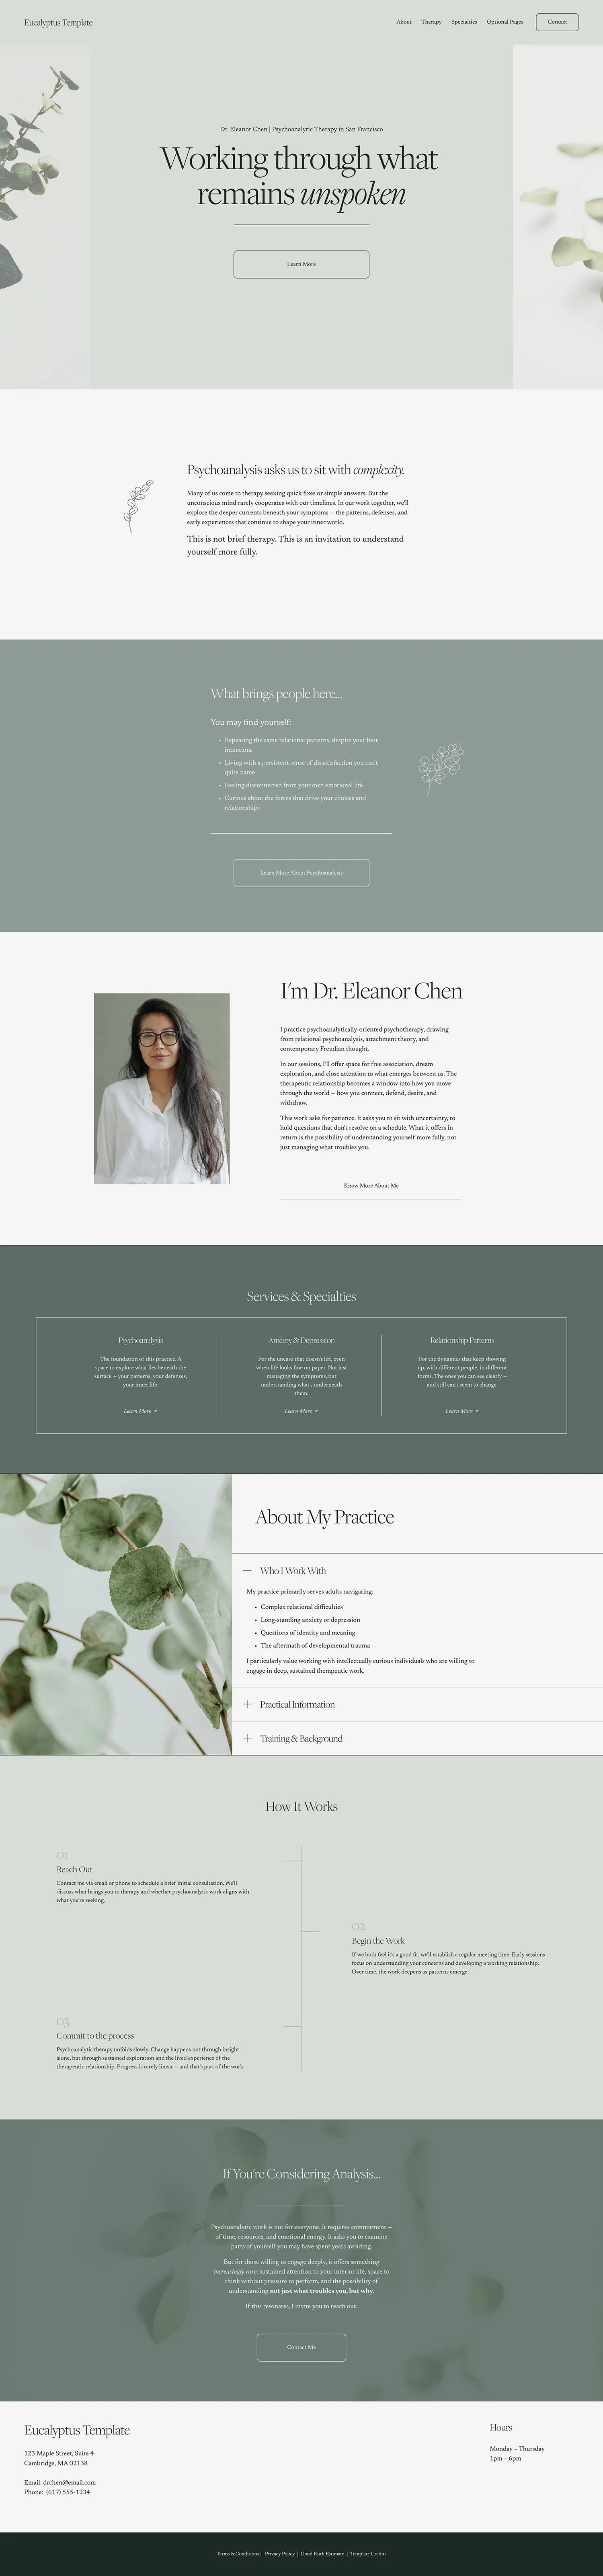
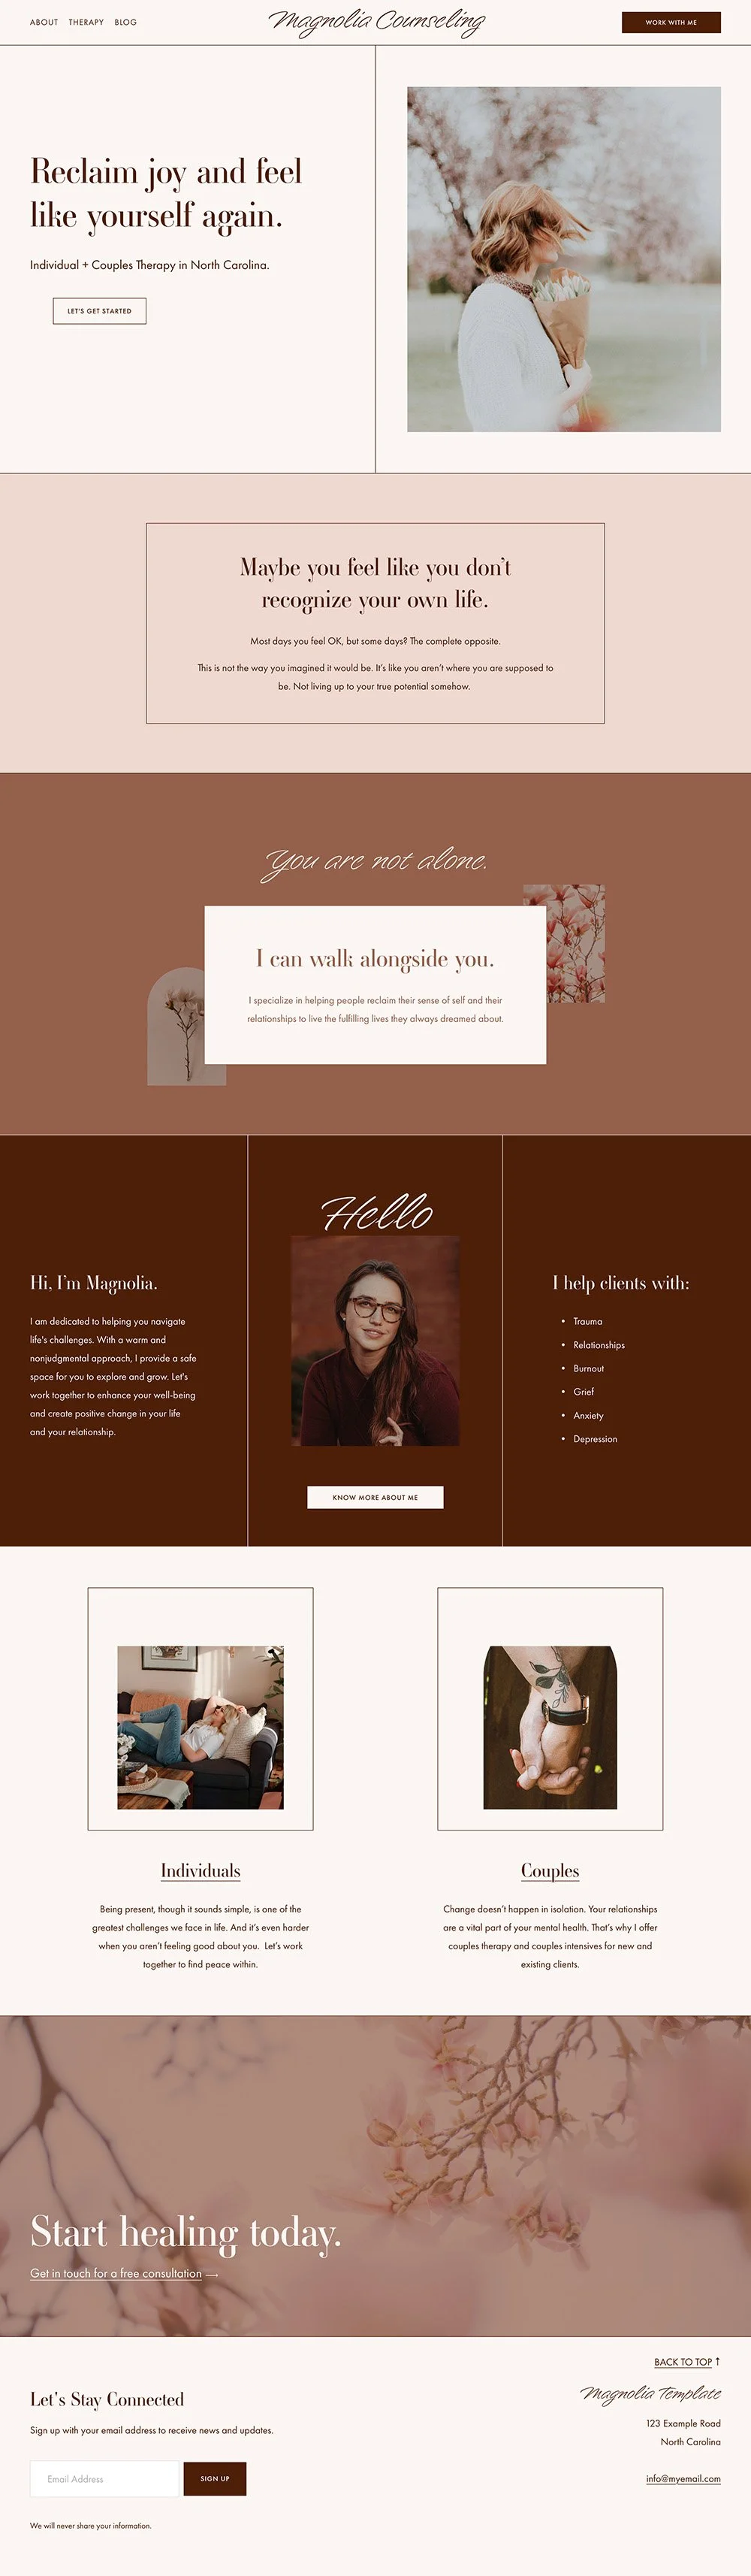
Every Go Bloom Template comes with fonts already chosen and paired for you, by someone who's spent a lot of time thinking about what reads well and feels right for therapy (hi, that’s me).
They're fully customizable, but if fonts are one more thing you'd rather not agonize over, that decision is already handled. You can always swap in a custom font later using exactly the steps above.
Browse Templates